

Musa Tissue Culture Care at a Glance
Key takeaways
- Musa tissue culture plantlets need the full 8-week acclimation before they behave like an ordinary houseplant.
- Weeks 1–2: keep the humidity dome 100% sealed and expect the original in-vitro leaves to melt — that is normal senescence, not failure.
- Weeks 3–6: vent the dome a little more each week so the leaves grow a protective waxy cuticle and can survive room air.
- Keep the substrate lightly damp like a wrung-out sponge, never soggy, to protect the tender ex-vitro roots.
- Hold off on fertilizer until Week 8, then feed at ¼ strength once roots are established.
- Pot into coco coir, perlite, and worm castings for the aeration and drainage Musa roots need while they harden.
Quick facts
| Common name | Banana |
|---|---|
| Difficulty | BEGINNER TO INTERMEDIATE |
| Acclimation time | ≈ 8 weeks |
| Starting humidity | 100% (sealed dome) |
| Water | Filtered / de-chlorinated tap water |
| Substrate | Coco coir, perlite, and worm castings |
| Fertilizer | From Week 8, at ¼ strength |
| Notable varieties | Musa Dwarf Cavendish and acuminata |
Week 1Arrival & Deflasking
Deflask, disinfect, pot up, and seal the dome at 100% humidity.
Week 1: Arrival & The Deflasking Crucible
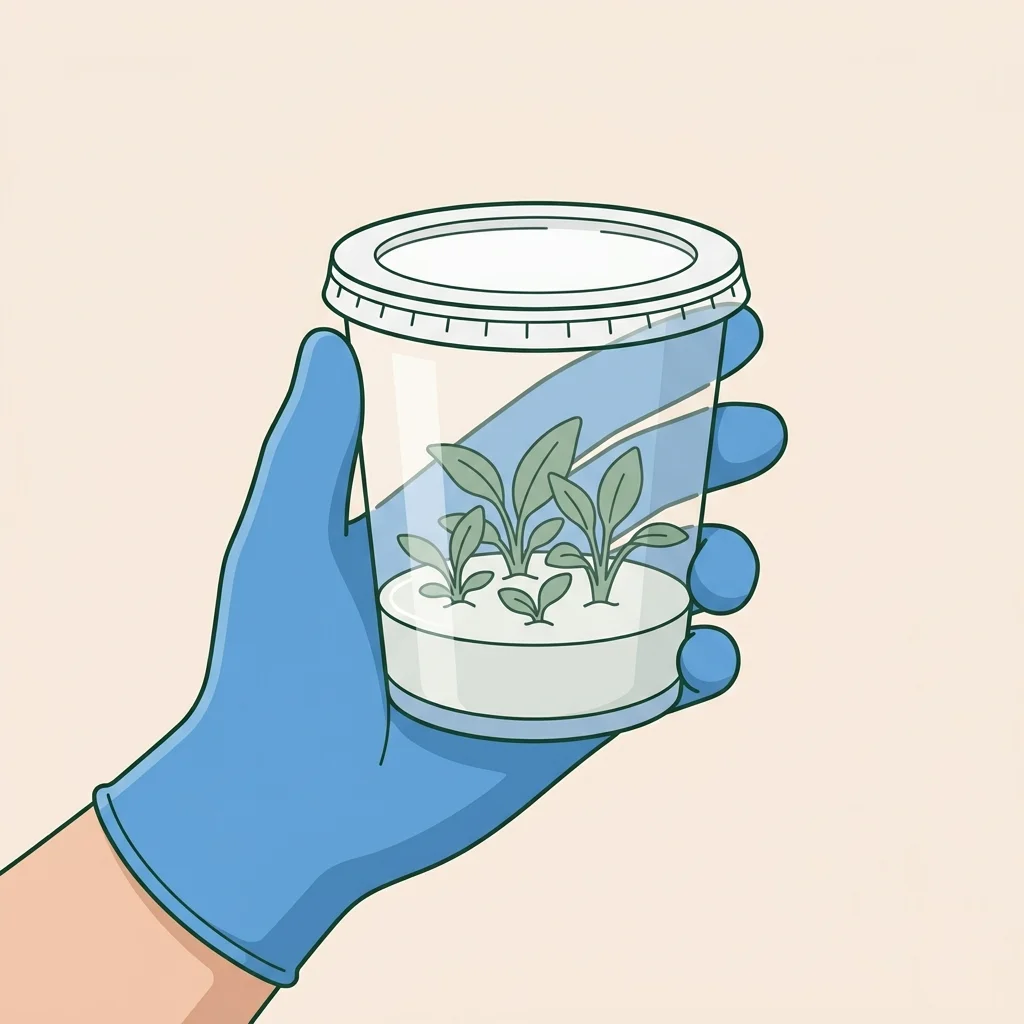
A delicate transition from sterile lab flask to the open air.
Welcome to Day 1 of your tissue culture acclimation journey! Today begins the most critical phase: transitioning your plantlets from a sterile, 100% humid lab environment into your home.
⏱️ Step 1: The Temperature Pause (Day 0)
Do not rush to open your plants today. Let the sealed culture rest in your room for 24 to 48 hours to adjust to the temperature. This allows the plants to recover from shipping stress before facing environmental changes.
🚰 Step 2: Sterile Deflasking & Rinse
When you are ready to deflask, wash your hands and meticulously rinse away all the agar gel using running water. The gel is a rich sugar medium; any residue left on the roots will attract mold and bacteria.
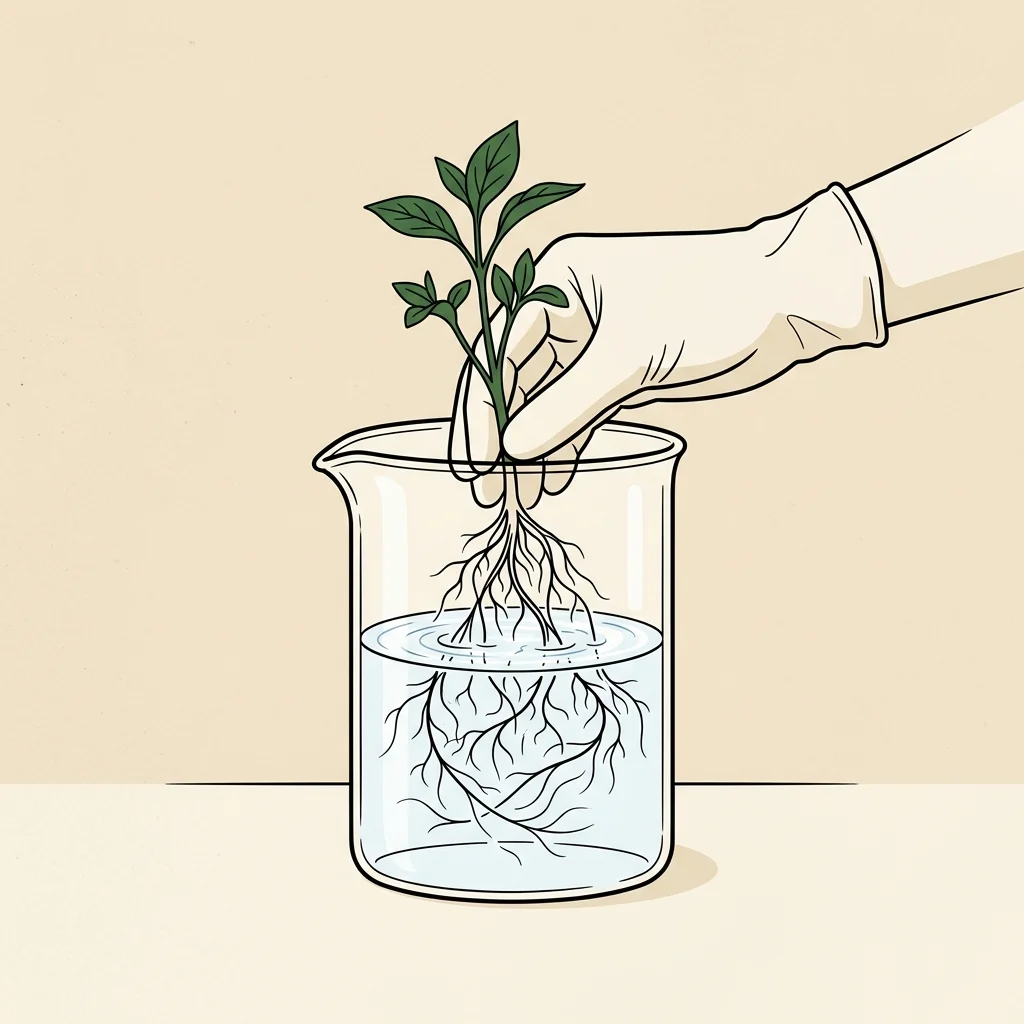
🧪 Step 3: Disinfect & Stimulate
Soak the roots in a fungicide (like Mancozeb or Betadine) and a rooting hormone. This disinfection layer is critical to prevent pathogens from attacking the exposed roots during transplanting.
🪴 Step 4: Potting in Damp Medium
Plant your culture in a small 1.5 to 2-inch pot. Ensure the soil is damp but never standing in water; heavy, waterlogged soil will instantly suffocate delicate, unhardened roots.
🔒 Step 5: The Sealed Sanctuary
Immediately place the potted plant under your humidity dome. Keep the vents 100% sealed. Lab-grown leaves lack a protective waxy cuticle and possess malformed, open stomata. If exposed to dry room air, they will instantly lose their water and desiccate.
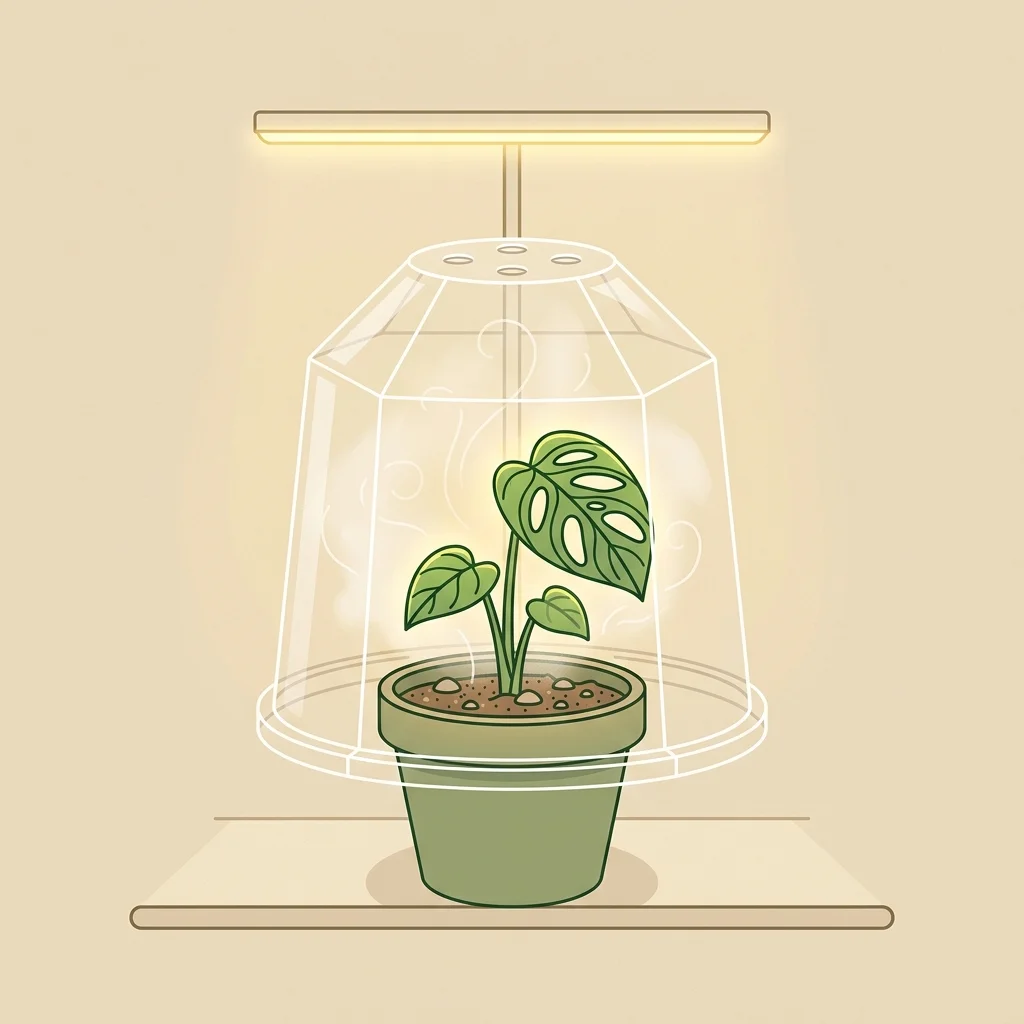
💡 Step 6: Controlled Grow Lights
Place the dome 12 inches below a grow light set to run for 8 to 14 hours a day. Do not open the dome for the rest of the week!
Ensure your grow light is not too intense. Direct, intense light will easily scorch the delicate white variegated portions of the lab-grown leaves.
After planting in your chosen medium, seal the dome and absolutely do not disturb it. Expect extreme fragility in the existing in vitro leaves.
Expect zero top growth this week. The plant is entirely focused on surviving the shock and transitioning its root system to soil.
🔮 Prepare For Week 2: The "Melting" Phase
Next week, your plants will enter the "Melting" phase. Familiarize yourself with the diagnostic flowchart in your tracker dashboard to identify normal leaf senescence versus fatal root rot.
Week 2The Melting Phase
Expect older leaves to melt — tell normal senescence apart from root rot.
Week 2: The "Melting" Phase
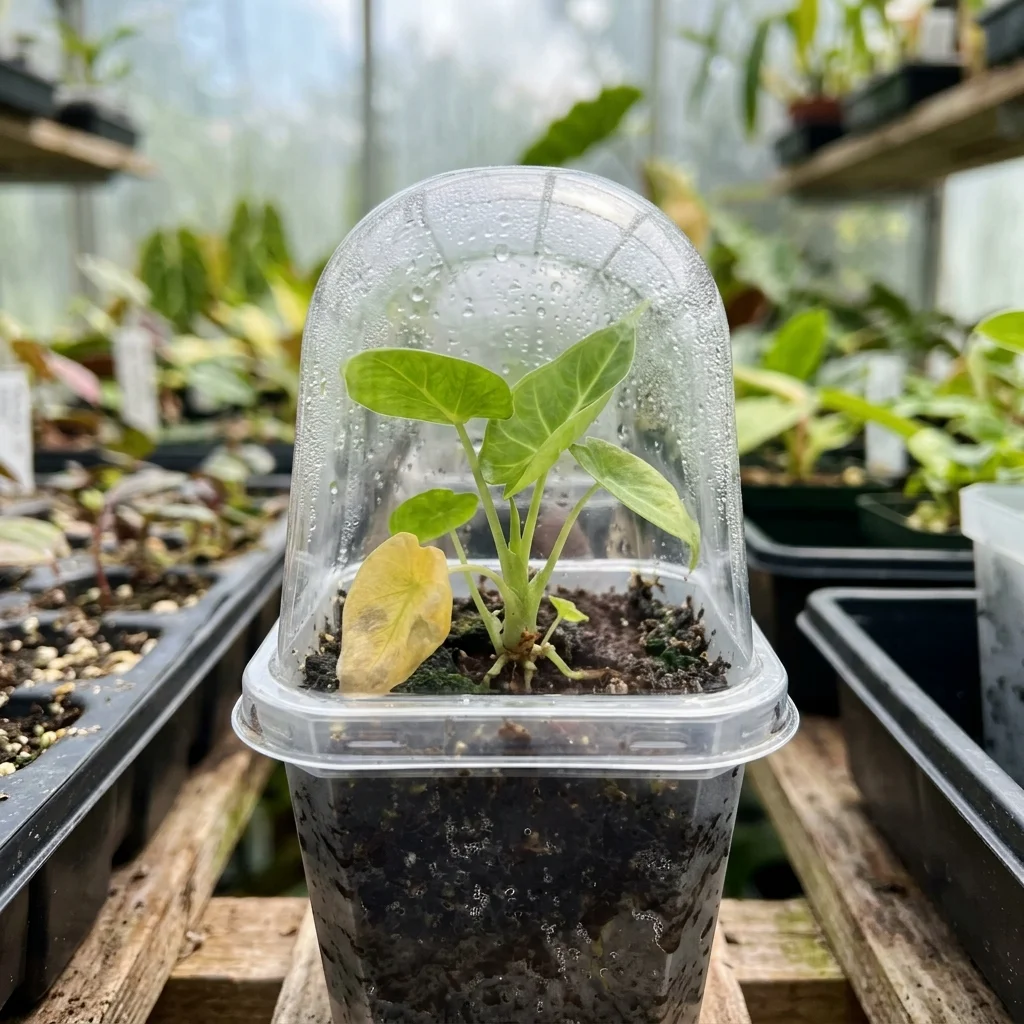
A normal transition: older leaves melting as the plantlet shifts energy to grow strong roots.
This week, your tissue culture plantlets will face their first major biological transition. You will likely see older leaves turning yellow, getting crispy edges, or turning to mush. Do not panic! This is normal leaf senescence.
🔒 Step 1: Keep the Humidity Dome 100% Sealed
Do not be tempted to take the dome off to "let it breathe". Even if the outer leaves look dilapidated, the humidity dome must remain fully sealed. Trust the root system to stabilize.
🧐 Step 2: Distinguish Senescence vs. Fatal Rot
You must distinguish between normal melting and fatal rot. If lower, older leaves are turning mushy, this is normal leaf senescence. However, if leaves are turning yellow AND your soil is soggy, you may have anaerobic root rot.
✂️ Step 3: Prune Active Rot (Senescence)
If an old leaf is actively rotting from normal senescence, you may quickly open the dome, use sterile scissors (cleaned with hydrogen peroxide or rubbing alcohol) to remove the mushy leaf, and reseal the dome immediately. Keep exposure to a minimum.
🔎 Step 4: Check Clear Nursery Pots
Because the plantlet is a slow grower, pathogens have more time to attack its transitioning roots. Check the clear nursery pot for root health every 4 to 7 days, looking for any signs of root blackening.
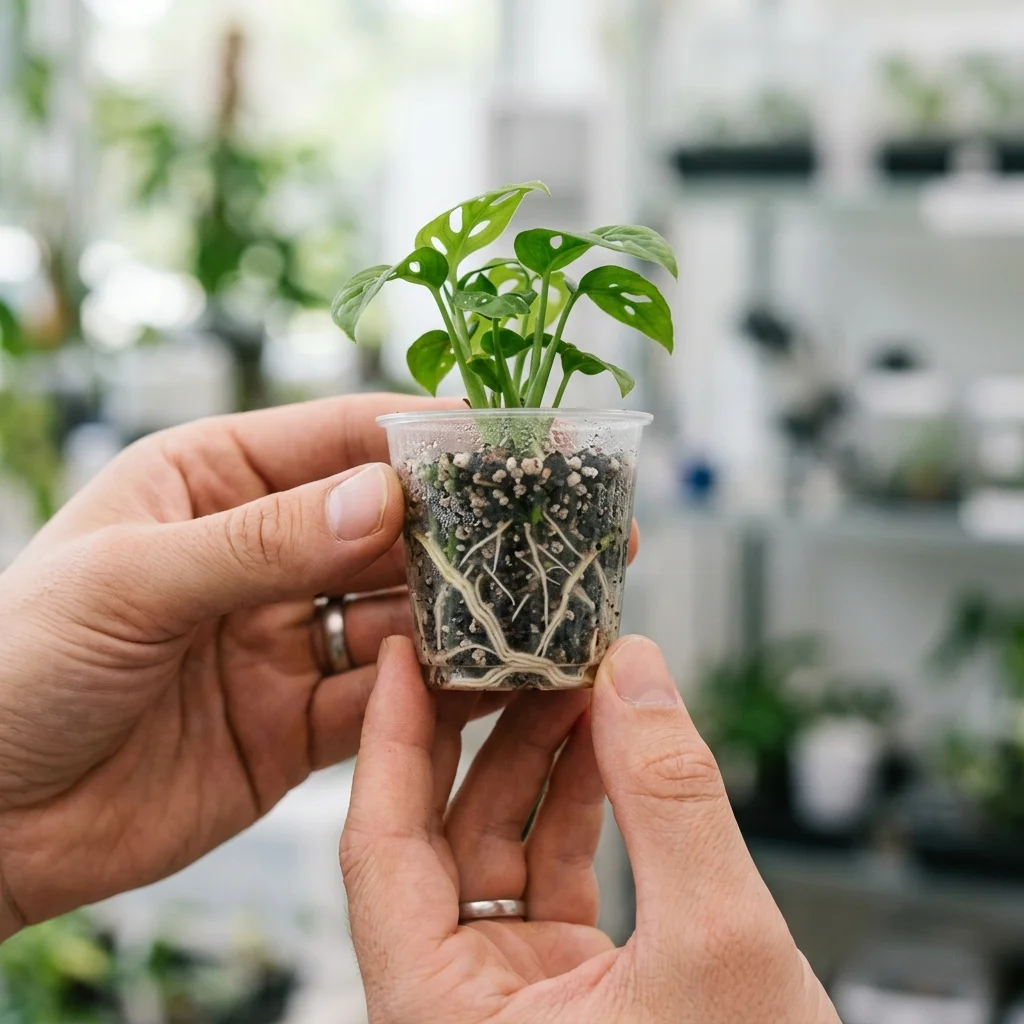
💦 Step 5: Do Not React to "Sweating"
You may notice the plant sweating a sticky substance on its foliage. This is a normal physiological reaction (guttation/extrafloral nectaries), not a pest issue. Keep the dome sealed.
🌱 Step 6: Maintain Moisture & Wait
Watch closely for leaf melt. Maintain slightly moist roots and patiently wait for a new, hardened leaf to emerge from the corm.
If leaves are turning yellow AND your soil is soggy, cease watering immediately, ensure proper drainage, and inspect the clear pot for dark, rotting roots.
Do not spray pesticides or open the dome if you see sticky droplets on the foliage. This is a completely healthy transpiration byproduct.
It is normal for laboratory-grown leaves to look dilapidated as the plant acclimates. Keep conditions stable and focus on root health.
🔮 Prepare For Week 3: The Venting Phase
Next week, we will begin the "Venting" phase, introducing your plantlets to ambient humidity levels. Continue monitoring root health and keeping the dome fully sealed for now.
Musa Considerations
You may see rapid browning and drooping of the lowest, oldest leaves. As long as the central "cigar" leaf emerging from the middle remains firm and green, this is standard senescence.
Verify the central emerging leaf spike is firm. Browning of lower leaves is completely natural as the banana plant establishes roots.
Week 3The First Vent
Crack the vents briefly to trigger the protective waxy cuticle.
Week 3: The First Vent
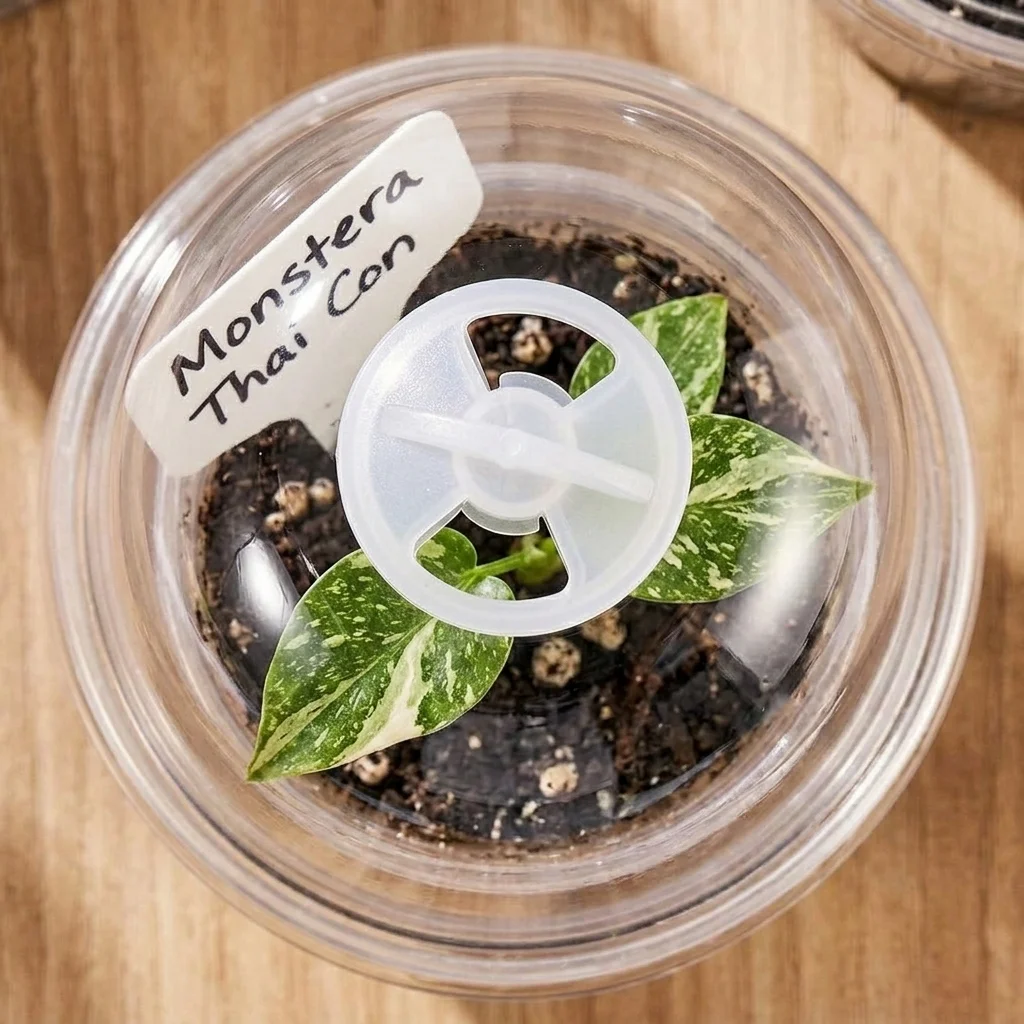
A waxy cuticle check: opening dome vents slightly to transition leaves to ambient air.
It is time to introduce minor stress to trigger the plantlet to build its protective waxy cuticle. Open the dome vents slightly or crack the lid for just 15 to 30 minutes daily to drop the internal humidity to 80-85%.
🔓 Step 1: Open Vents / Crack the Lid
Crack the lid or open the dome vents slightly for just 15 to 30 minutes daily. The goal is to drop the internal humidity to 80-85%. Be extremely conservative with venting.
🚨 Step 2: Handle Transpirational Shock Immediately
If the humidity drops too fast and the plant's leaves drastically droop or flop over, you must close the vents immediately, lightly mist the inside of the dome to restore 100% humidity, and wait a full 48 hours before trying again.
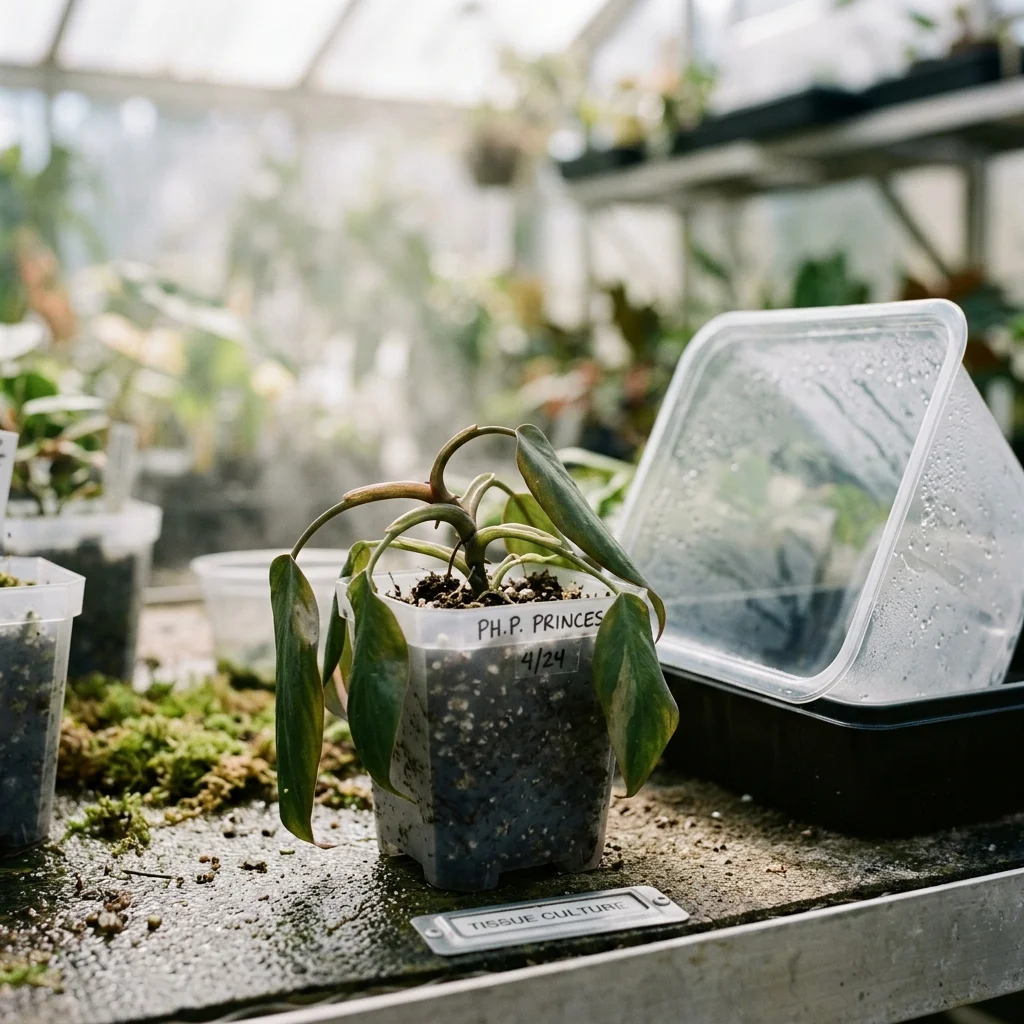
☀️ Step 3: Keep Light Consistent
Ensure your bright, indirect light remains consistent. The plantlet should be adapting well to this brief drop in humidity.
🧐 Step 4: Monitor and Observe
Stay attentive to any signs of distress. If the plantlet remains upright during the venting period, you are on the right track.
📈 Step 5: Increase Venting Gradually
Watch for any signs of drooping during the 30-minute venting window. If it stays firm, increase the vent opening slightly tomorrow.
Based on the physiological realities shown in the Anatomical Divergence Between In Vitro and Ex Vitro Foliage chart, Week 3 is when you must force the plantlet to transition. Because the in vitro leaves lack a waxy cuticle and possess open, malfunctioning stomata, they must experience minor transpirational stress (a drop in humidity) to trigger the biological development of these protective barriers.
Week 3 is the highest risk point for transpirational shock. Based on the Rapid Diagnostic Protocol for Acclimatization Stress flowchart, the universal rule is: If leaves exhibit drooping or flopping during the venting window, the humidity dropped too fast. You must close the vents immediately, mist the interior to restore 100% humidity, and wait a full 48 hours before trying again.
🔮 Prepare For Week 4: The Hardening Phase
Next week, we will begin the "Hardening" phase, progressively extending the daily venting duration until the dome can be removed entirely. Monitor the waxy cuticle formation closely.
Musa Considerations
The large surface area of their leaves means rapid evaporative water loss. Keep a close eye on the central "cigar" leaf; if it droops, abort the venting for 48 hours per the diagnostic protocol.
The central cigar leaf is the life support center for Musas. If it sags or folds, close the dome and mist immediately.
Week 4The Adjustment Phase
Hold the vents halfway open to step humidity down gradually.
You are now halfway through the acclimation timeline! During Week 4, the focus is on stabilizing your plantlets under slightly lower humidity levels. We will open the vents on the dome further to transition them towards ambient home air.
🔓 Step 1: Open Vents Halfway (Adjustment)
Adjust the humidity dome vents to be approximately halfway open, or slide the cover back by about half an inch. Keep this constant level of ventilation day and night to prevent sudden moisture swings.
🧐 Step 2: Check Substrate Hydration (Squeeze Test)
The increased airflow means the substrate will dry out faster. Ensure you perform the moisture squeeze check: the soil should feel like a wrung-out sponge—damp to the touch but never soggy or waterlogged.
Musa Considerations
At 3 to 4 weeks, you can start opening the covering during the day and completely covering them again at night.
Week 5Advanced Exposure
Push several hours of ambient exposure; still no fertilizer.
Week 5: Advanced Exposure
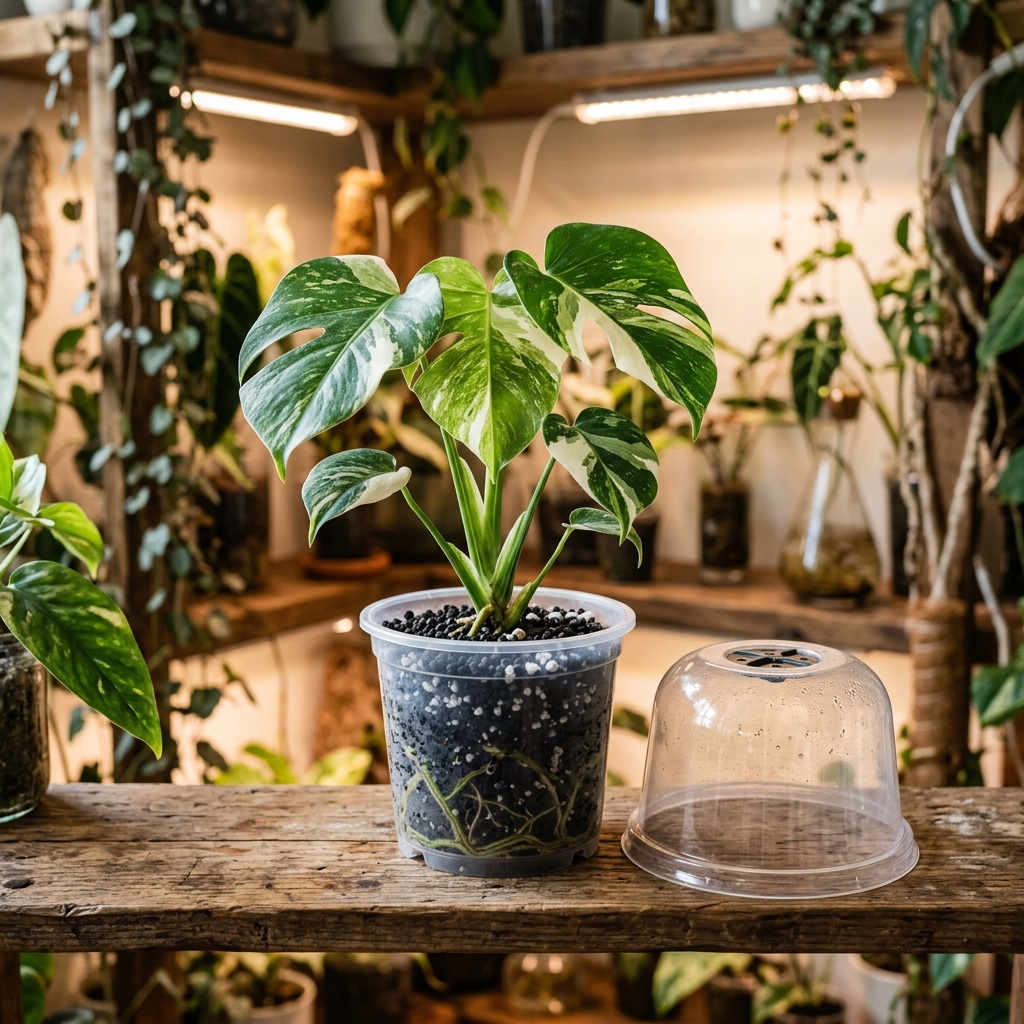
A milestone of hardiness: completely removing the humidity dome during the day.
Your plantlets are transitioning into fully hardened specimens! This week, we will dramatically push their exposure to ambient room air, while monitoring cuticle thickness and keeping roots safe from chemical fertilizer burns.
🔓 Step 1: Push Exposure Time (9 to 12 Hours)
Leave the vents fully open, or entirely remove the humidity dome for 4 to 5 hours a day. Gradually increase this duration, pushing the ambient exposure time to 9 to 12 hours a day, keeping the dome over the plant only at night.
🧐 Step 2: Feel the New Growth
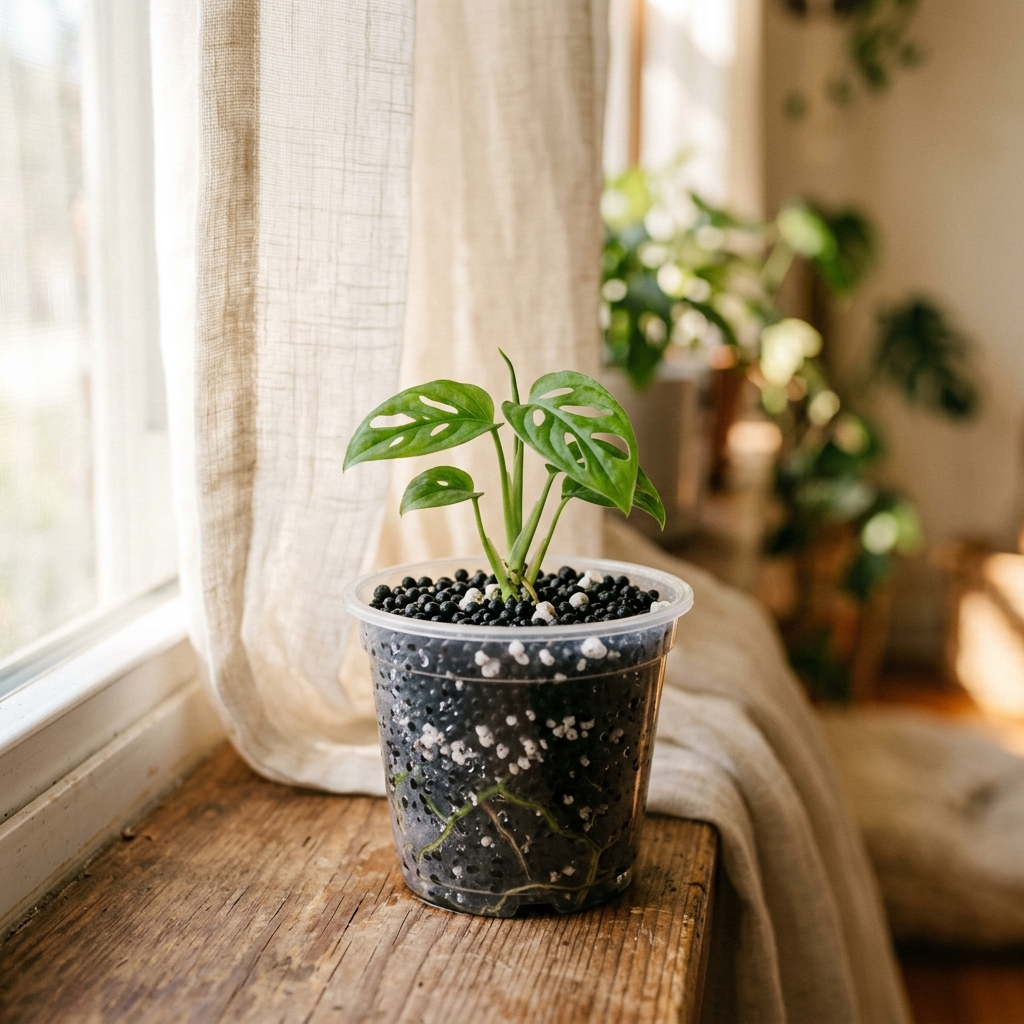
Gently feel any new growth. The newly acclimated leaves should feel slightly thicker and more robust than the original, paper-thin lab leaves. This is a sign that the waxy protective cuticle has successfully formed.
☀️ Step 3: Filter Sunlight & Monitor Room Humidity
As the dome stays off for several hours, ensure your room's baseline humidity doesn't drop to extreme winter lows (below 30%). Double-check that the plant is protected from sudden bursts of direct sunlight, which will permanently burn the variegated foliage.
💦 Step 4: Gentle Watering (No Fertilizer)
Continue utilizing gentle misting or bottom-watering to keep the substrate lightly damp without crushing the root zone. Do not apply fertilizer yet, as the still-developing roots are highly prone to chemical burn.
Avoid applying any fertilizer this week. The newly formed ex vitro roots are extremely tender and susceptible to chemical burn. Wait until the plant is fully stabilized before starting diluted liquid feeding.
As exposure increases without the dome, any brief exposure to direct sun rays through window panes will act as a magnifying glass, causing permanent scorch marks on young, variegated leaves. Always filter sunlight using sheer curtains.
If you live in a dry environment or are acclimating during winter, ensure the room's baseline humidity does not fall below 30%. Use a room humidifier if needed to prevent rapid transpirational collapse.
🔮 Prepare For Week 6: The Autotrophic Shift
Next week, your tissue culture plantlet will fully rely on its own photosynthesis (autotrophic shift) and we will transition to complete ambient room exposure. Keep monitoring moisture levels closely.
Musa Considerations
Exception to the Baseline Protocol: By weeks 4 and 5, Musa plantlets have typically grown robust new roots and pushed a new leaf.
Because they are incredibly heavy feeders, you can now begin applying a diluted liquid fertilizer with your waterings to support their rapid growth.
Week 6The Final Hardening Push
Dome off 16–20 hours as the plant turns fully autotrophic.
Week 6: The Final Hardening Push
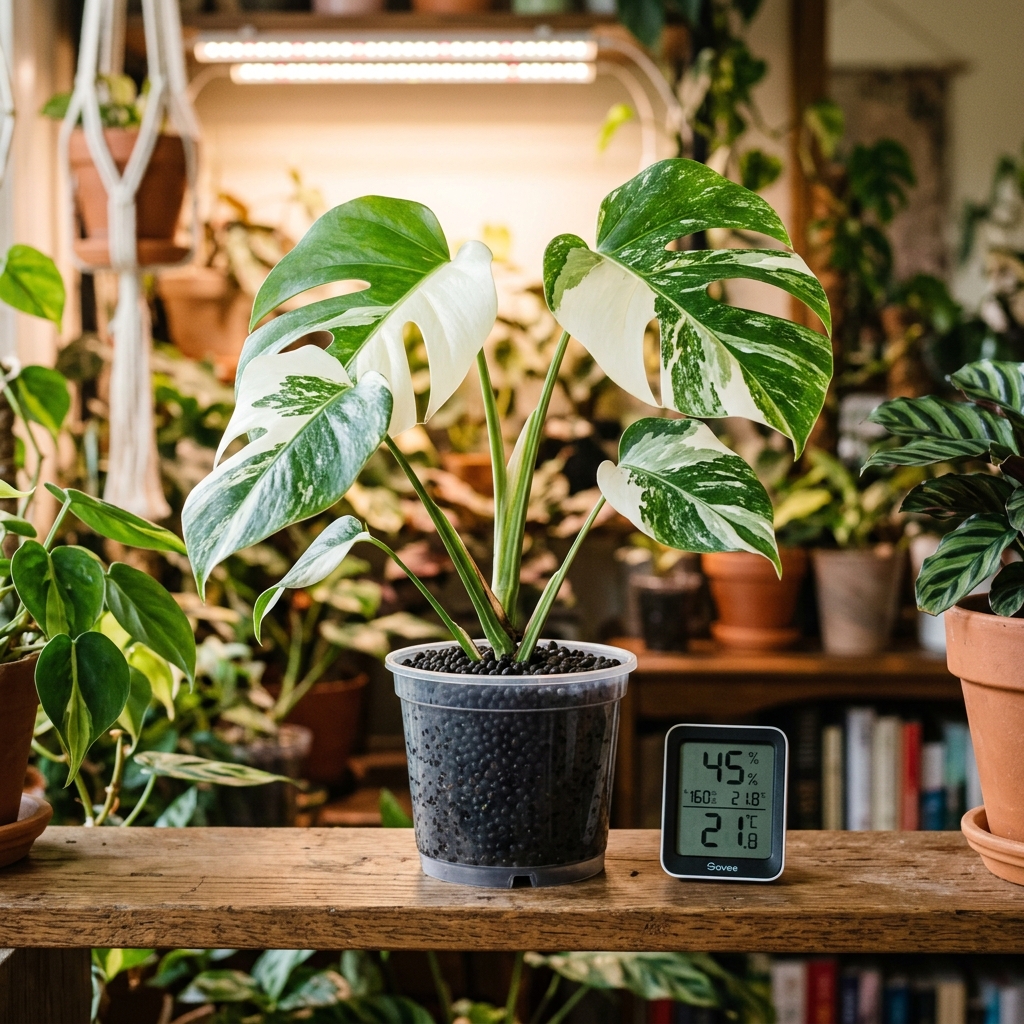
Fully acclimated: your tissue culture specimen is officially ready for standard room air.
Welcome to the final stretch! This week, we will remove the humidity dome almost entirely, forcing the plantlet to rely fully on its autotrophic photosynthesis and new root network.
🔓 Step 1: Remove the Dome Entirely (16 to 20 Hours)
Remove the dome entirely for 16 to 20 hours a day. Keep it on only at night. If the plantlet looks stressed or droops under this long exposure, immediately drop back to 12 hours. Every specimen dictates its own pace.
✊ Step 2: Check Root Anchoring
The plantlet should now be firmly anchored in its plug or Stratum mix. It should easily resist very gentle upward tugs, indicating that the new root network is successfully stabilizing the plant.
🌬️ Step 3: Prevent Dry Winter Heating Collapse
Indoor heating systems can drive a home's relative humidity below 30%, which will trigger transpirational shock. If your home is exceptionally dry, run a dedicated room humidifier nearby to maintain a baseline of 40-50% humidity.
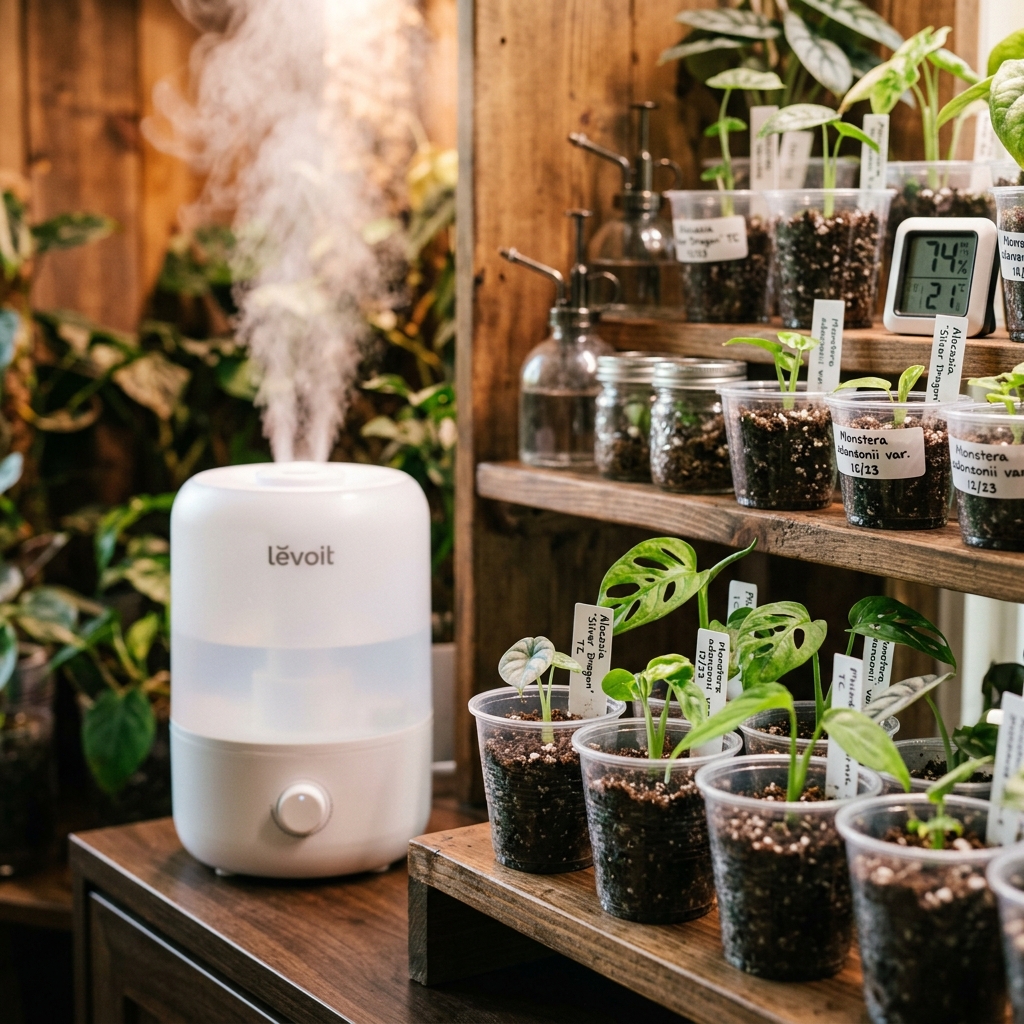
⏱️ Step 4: Attempt a Full 24-Hour Trial
Attempt a full 24-hour period outside the dome. If the leaves droop significantly by the end of the day, do not rush: give it a few more days of night-time covering.
👀 Step 5: Observe Acclimated Leaves
The plant should now be pushing fully acclimated growth capable of handling standard airflow. New leaves will exhibit clear variegation (if applicable) and strong protective cuticles.
Indoor heating dry air (below 30%) is a major threat during dome removal. Keep an active humidifier nearby to keep the baseline ambient humidity above 40%.
Do not force a 24-hour un-domed stretch if the plant flops. A few extra days of night-time dome covering will give the root system the extra time it needs.
Your plantlet has officially shifted from laboratory media dependence to active autotrophic photosynthesis. It is now fully self-sufficient!
🎓 Congratulations on Graduation!
You have successfully acclimated your tissue culture specimen. It is now ready to join the rest of your collection as a fully hardened houseplant.
Musa Considerations
By week 6, the plantlets should have grown robust new roots and pushed new, acclimated leaves.
Because bananas are heavy feeders, you can start using a diluted liquid fertilizer with every watering to support their rapid growth.
Week 7Full Ambient Transition
Remove the dome for good and settle into ambient room air.
Week 7: Full Ambient Transition
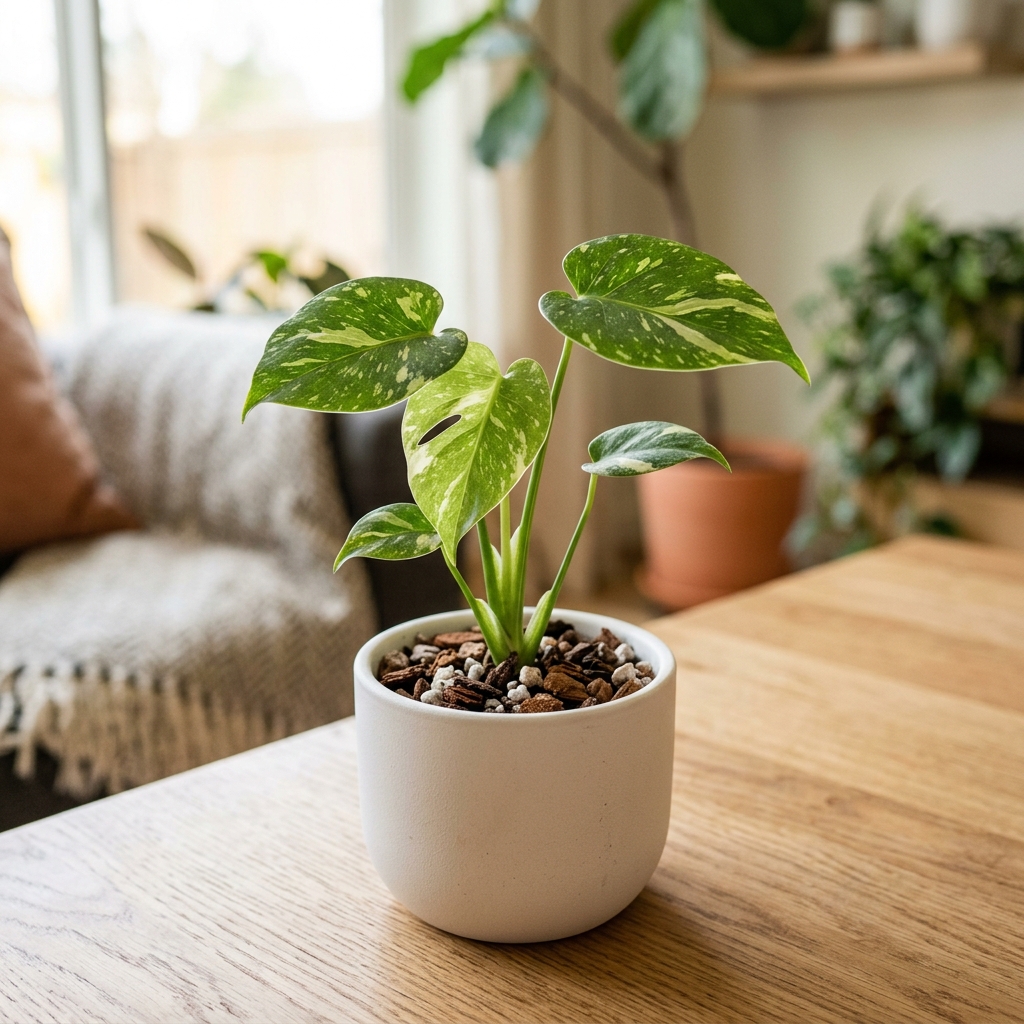
Acclimation complete: your tissue culture specimen is now a fully self-sufficient houseplant.
Congratulations! Your plant has successfully transitioned from a lab-grown specimen to an independent, autotrophic houseplant. This week, we permanently remove all specialized covers.
🔓 Step 1: Remove the Dome Entirely (24/7 Exposure)
Leave the plant completely uncovered 24/7. It no longer requires the high-humidity buffer of a dome or plastic bag to survive. It is now fully adjusted to your home's ambient room air.
🪴 Step 2: Transition to Permanent Substrate
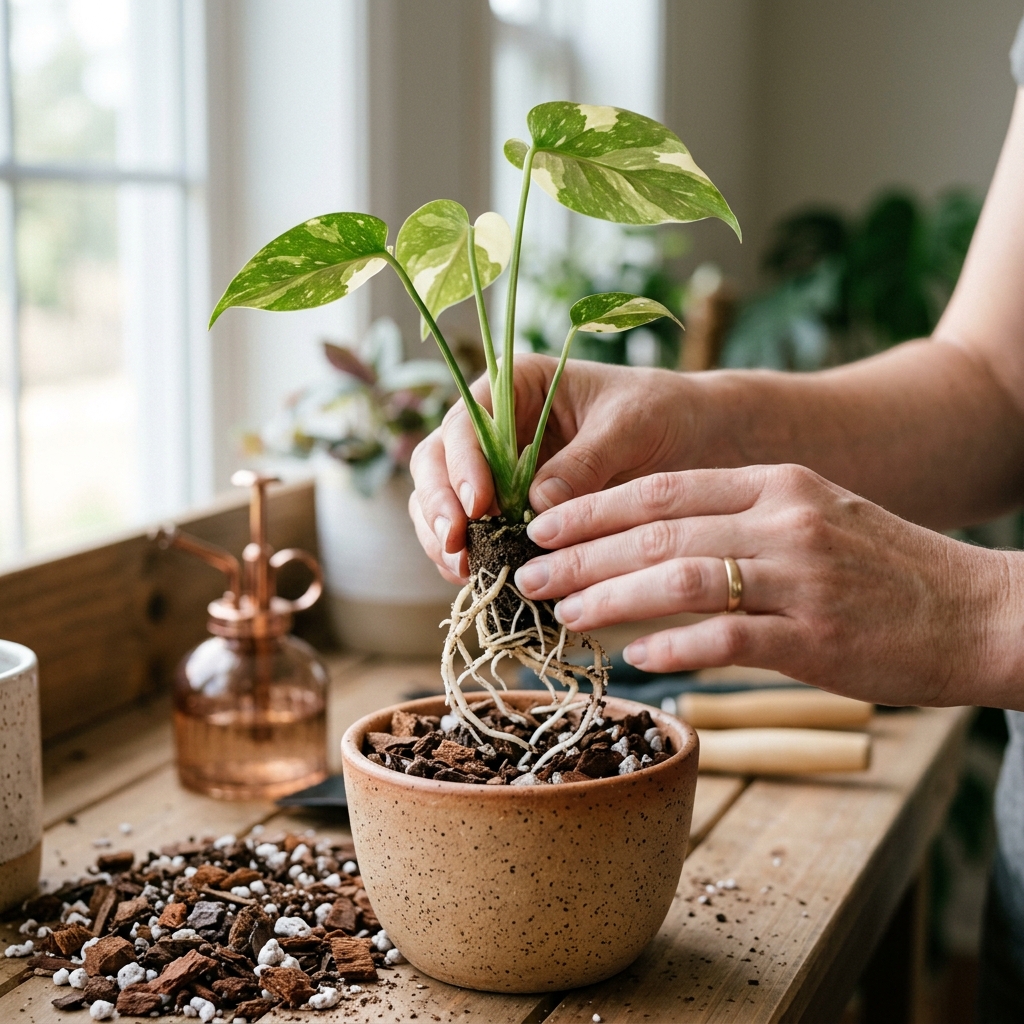
Now that your plantlet is fully acclimated, you can begin planning its transition to a permanent soil, perlite, and bark mixture. Look for strong, healthy white root systems filling the starter container before repotting.
💧 Step 3: Monitor Watering Frequency
Keep a close eye on watering frequency. Substrate will dry out much faster now that the dome is permanently removed. Check the soil dampness regularly and water whenever the top layer begins to feel dry.
🌬️ Step 4: Keep Away from Vents & Radiators
Remember to keep the plant away from direct HVAC vents, heaters, or radiators. Dry, forced-air drafts can quickly stress transitioning foliage. If you are acclimating during the winter, continue to run your room humidifier nearby to buffer extreme dry heat.
Forced air from heaters or radiators strips moisture from foliage rapidly. Position your acclimated plant in a draft-free location with bright, indirect light.
Now that it is stable, treat this specimen exactly as you would a standard rare Philodendron or Anthurium: maintain warm room temperatures and bright indirect light.
Your tissue culture specimen is fully stabilized! It can now live permanently in your greenhouse cabinet, office desk, or ambient room alongside the rest of your collection.
🎓 Acclimation Complete!
You have successfully guided your plant through all transitional stages from sterile lab vessels to standard ambient air. It is officially ready for standard room life.
Musa Considerations
The humidity dome should be completely off by this point.
Bananas grow rapidly, and at this stage, they are likely ready to be transplanted into a new, larger substrate if they have outgrown their starter nursery pots.
Week 8Maintenance & Transplanting
Pot up, begin dilute feeding, and resume standard care.
Week 8: Maintenance & Transplanting
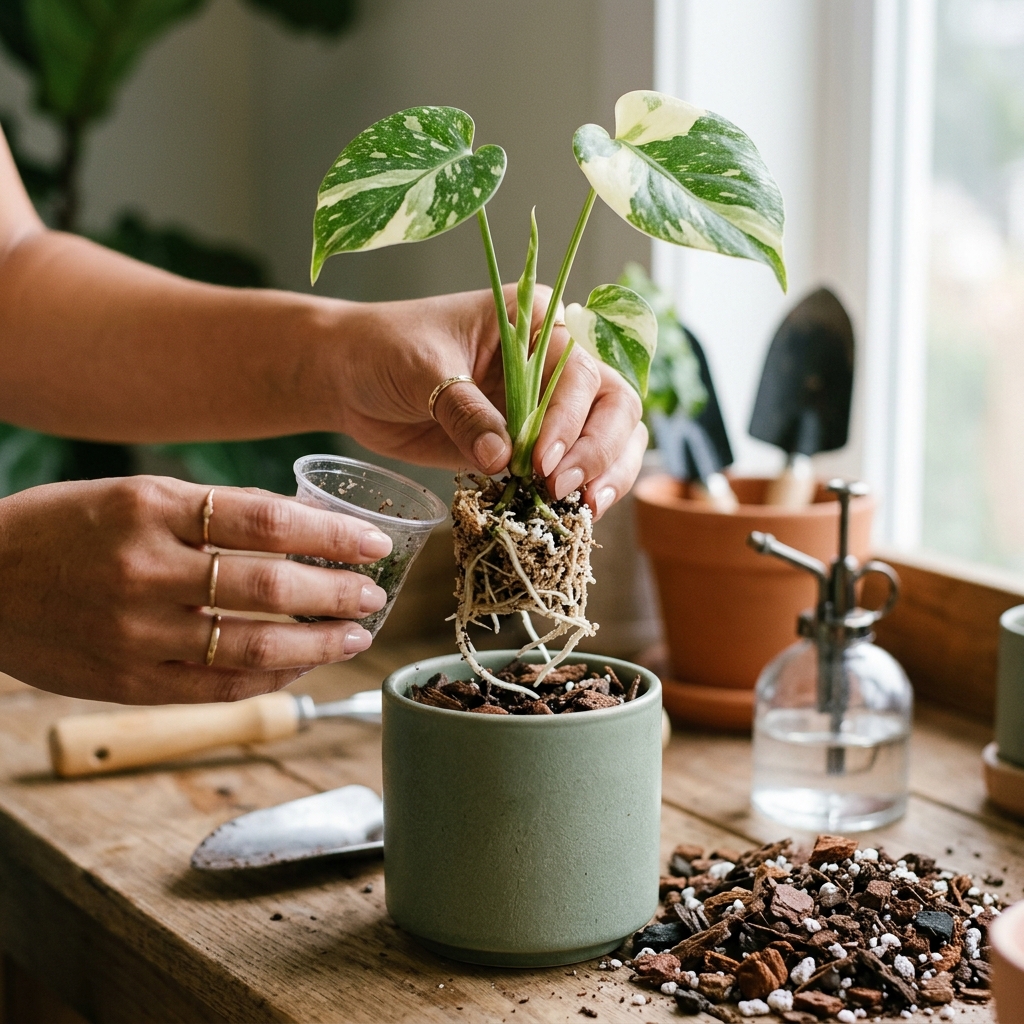
Hardening complete: your tissue culture specimen is ready to be potted up.
Congratulations, your plant is officially hardened! Your specimen is no longer a delicate plug; it is now a standard houseplant. This week, we will focus on long-term maintenance and transplanting.
🪴 Step 1: Check if Potting Up is Needed
Once the plantlet outgrows its 1.5-inch starter pot and shows strong root development poking through the drainage holes, you can transplant it into a slightly larger vessel. Do not skip to a very large pot; a 3-to-4 inch container is ideal.
🧪 Step 2: Choose Your Substrate (Soil vs. Semi-Hydro)
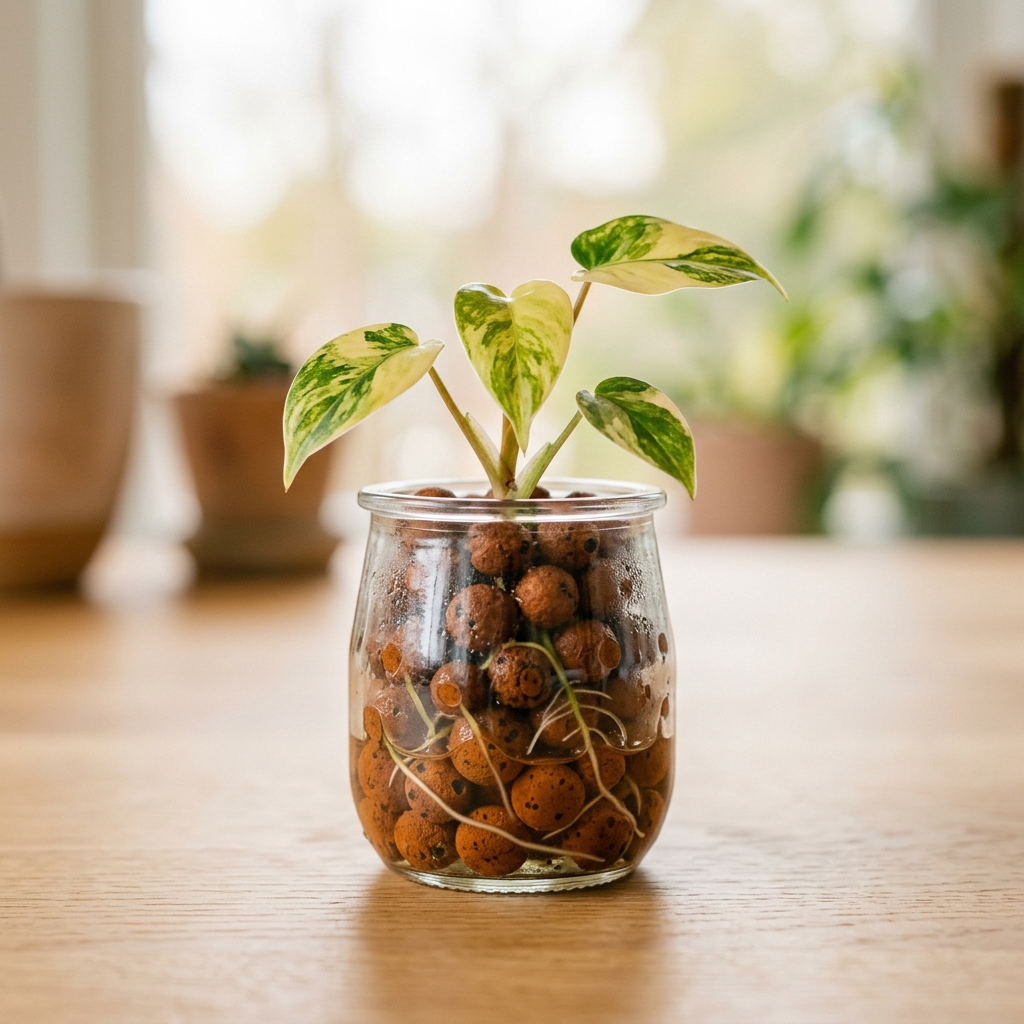
If you plan to move the specimen to semi-hydroponics (such as LECA or pumice), the root system is now resilient enough to make the transition. Otherwise, pot it up into a high-quality, soil-based chunky aroid mix.
💧 Step 3: Begin Standard Watering Practices
Allow the soil to dry out slightly between waterings, but never let the roots or corm become bone dry. Begin standard watering practices, allowing the top inch or two of the soil to dry before giving it a thorough soak.
⚡ Step 4: Introduce Mild Liquid Fertilizer
Because the plant is now actively growing and has established roots, you can safely introduce a very mild, diluted liquid fertilizer (diluted to 1/4 strength) with waterings to support rapid foliage development.
When repotting, always maintain a highly aerated mix. Heavy or compacted soil will trap excess water. Ensure orchid bark, perlite, and charcoal make up the majority of the potting medium.
Maintain bright, indirect light to keep the creamy white variegation vibrant as the plant matures into a full-sized specimen. Avoid placing it in direct hot sun, which will burn white leaf sectors.
🎓 Happy Growing!
Your tissue culture specimen has officially completed its acclimation program and has transitioned to standard rare plant care. Enjoy watching it mature into a stunning specimen!
Musa Considerations
Bananas are incredibly heavy feeders and fast growers. If you haven't already, repot the plantlet into a larger container.
Begin applying a high-nitrogen liquid fertilizer every 7 to 10 days to fuel their rapid ex vitro development.
Musa Tissue Culture — Frequently Asked Questions
How long does it take to acclimate Musa tissue culture?
Most Musa plantlets follow the full 8-week protocol: 1–2 weeks sealed at 100% humidity, gradual venting through Weeks 3–5, full ambient air by Weeks 6–7, and potting up in Week 8.
What is deflasking?
Deflasking means removing the plantlets from their sterile tissue-culture flask, rinsing every trace of agar gel off the roots under running water, and potting them into substrate. It is the first step of Musa acclimation and happens in Week 1; leftover agar feeds mold and bacteria, so the rinse must be thorough.
Why are my Musa leaves melting, yellowing, or turning to mush?
In Weeks 2–3 the original in-vitro leaves naturally melt as the plant redirects energy into new roots — this is normal senescence. It only signals root rot when the substrate is soggy and the roots are turning brown or black. If that happens, stop watering, improve drainage, and inspect the clear nursery pot.
When can I remove the humidity dome from Musa plantlets?
Start with brief 15–30 minute vents in Week 3, extend to several hours a day by Week 5, and remove the dome entirely by Weeks 6–7 once new, cuticle-hardened leaves appear. If leaves droop when vented, the humidity dropped too fast — reseal, restore 100% humidity, and wait 48 hours before trying again.
What water should I use for Musa tissue culture?
Filtered or de-chlorinated tap water is fine for Musa. Keep the substrate lightly damp, like a wrung-out sponge, and never waterlogged, because the tender ex-vitro roots suffocate in standing water.
When can I fertilize Musa plantlets?
Wait until Week 8, once the roots are established, then feed at ¼ strength. Tender ex-vitro roots burn easily if you fertilize them too early.
What is the best substrate for Musa tissue culture?
Pot Musa into coco coir, perlite, and worm castings. The blend gives the high aeration and fast drainage the transitioning roots need so they get oxygen and never sit in water.